

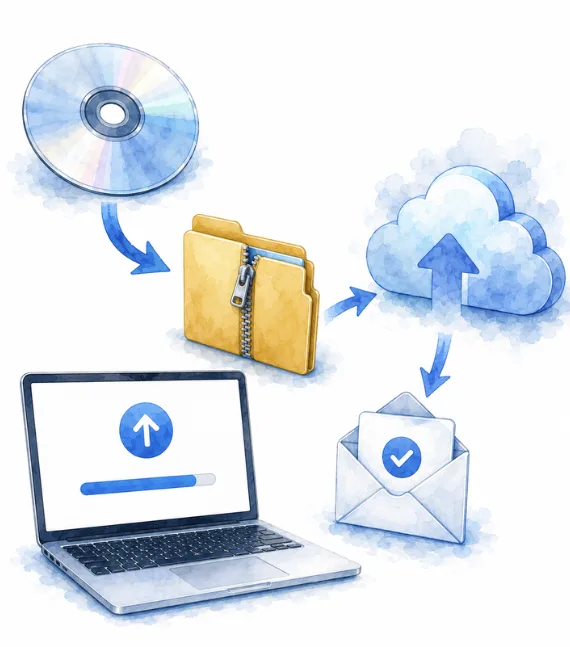
Step-by-step instructions
Step 1. Open the disc
Windows
- Insert the disc.
- Open “This PC”.
- Double-click the disc.
macOS
- Open Finder.
- Select the disc in the sidebar.
- Open its contents.
Step 2. Copy all files
- Create a new folder on the computer.
- Select every file and folder on the disc.
- Copy them into the new folder without changing the internal structure.
Step 3. Create a ZIP archive
Windows
Right-click the folder → Send to → Compressed (zipped) folder.
macOS
Right-click the folder → Compress.
Step 4. Upload the archive
Use a trusted cloud service such as Google Drive, OneDrive, Dropbox or another service approved by the clinic.
Step 5. Create a restricted sharing link
- Select Share.
- Enable link access only for the required period.
- Copy the link and test it in a private browser window.
Step 6. Send the link
Include the patient’s name, age, the joint or body area involved, the date of the study and a brief description of the problem. Do not publish the link on an open website or social network.
Checklist
- all files copied from the disc
- ZIP archive created
- archive uploaded
- sharing permissions checked
- link sent through the clinic’s approved channel
